_in_Jupyter_Notebooks.jpg)
Writing Racket (Scheme) in Jupyter Notebooks
First, we’re going to install Jupyter. As we don’t want to contaminate our global Python installation, we’ll do this in a venv
python -m venv venv
Now, let’s activate that bad boy:
source ./venv/bin/activate
Assuming you have Racket installed (see previous TIL — NB do not install via the Snap store … use apt!), install the Racket kernel for Jupyter:
raco pkg install iracket
Should your system complain about not having libzmq5 installed:
sudo apt install libzmq5
Then, install the Racket kernel into Jupyter:
raco iracket install
Then, confirm that Jupyter sees the Racket kernel:
❯ jupyter kernelspec list
Available kernels:
  python3    /home/captivus/projects/sicp/venv/share/jupyter/kernels/python3
  racket     /home/captivus/.local/share/jupyter/kernels/racket
Now … we create a new Jupyter notebook in VSCode using the Command Palette:

In the top right of the notebook, select the kernel (it won’t say Racket when you start):
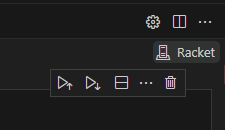
You’ll be presented with these options:
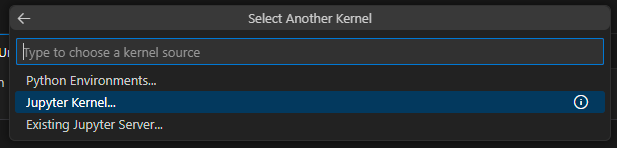
Select “Jupyter Kernel”, then select “Racket”:

… and you’re up!